This web page was created programmatically, to learn the article in its authentic location you possibly can go to the hyperlink bellow:
https://www.australianphotography.com/photo-tips/lightroom-how-to-apply-a-localised-tone-curve
and if you wish to take away this text from our web site please contact us
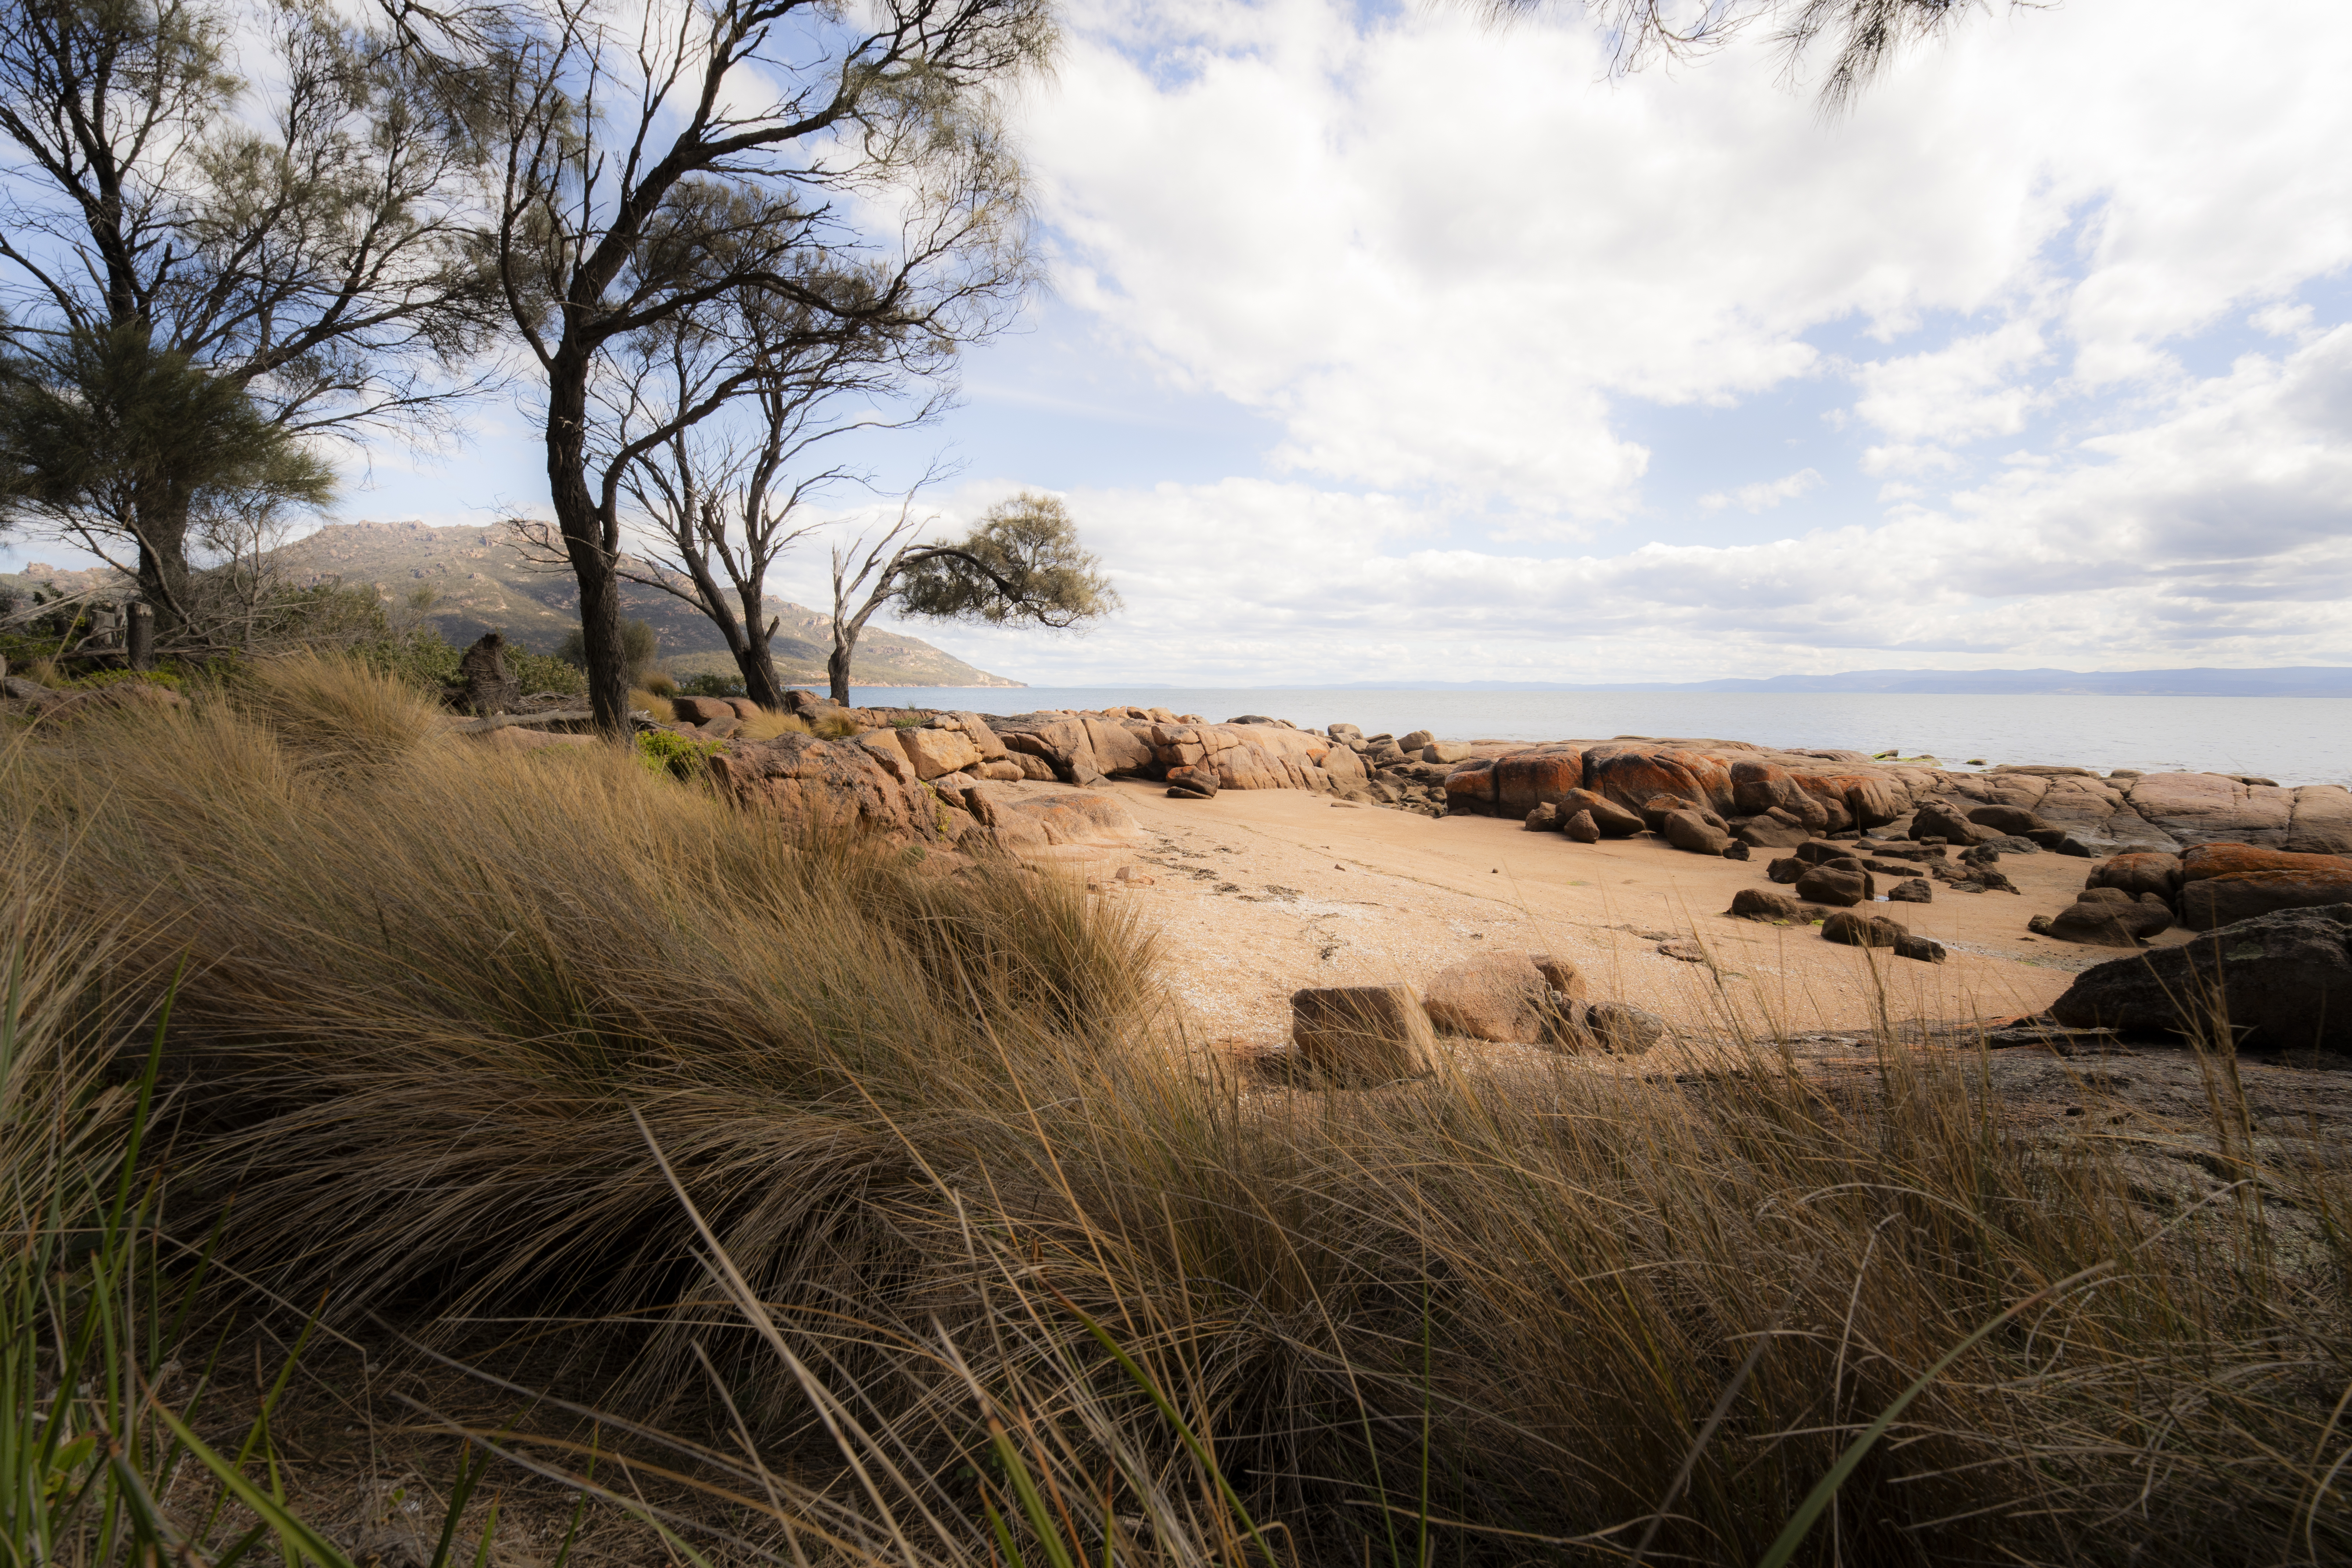
Have you ever needed so as to add punch, softness or a cinematic fade to solely a particular space in your picture, comparable to a sky, foreground, topic, or background, with out affecting the remainder of the picture?
Many Lightroom customers don’t realise the Tone Curve can also be accessible inside masks, and is a straightforward technique to just do that. Let’s present you the way.
Step one
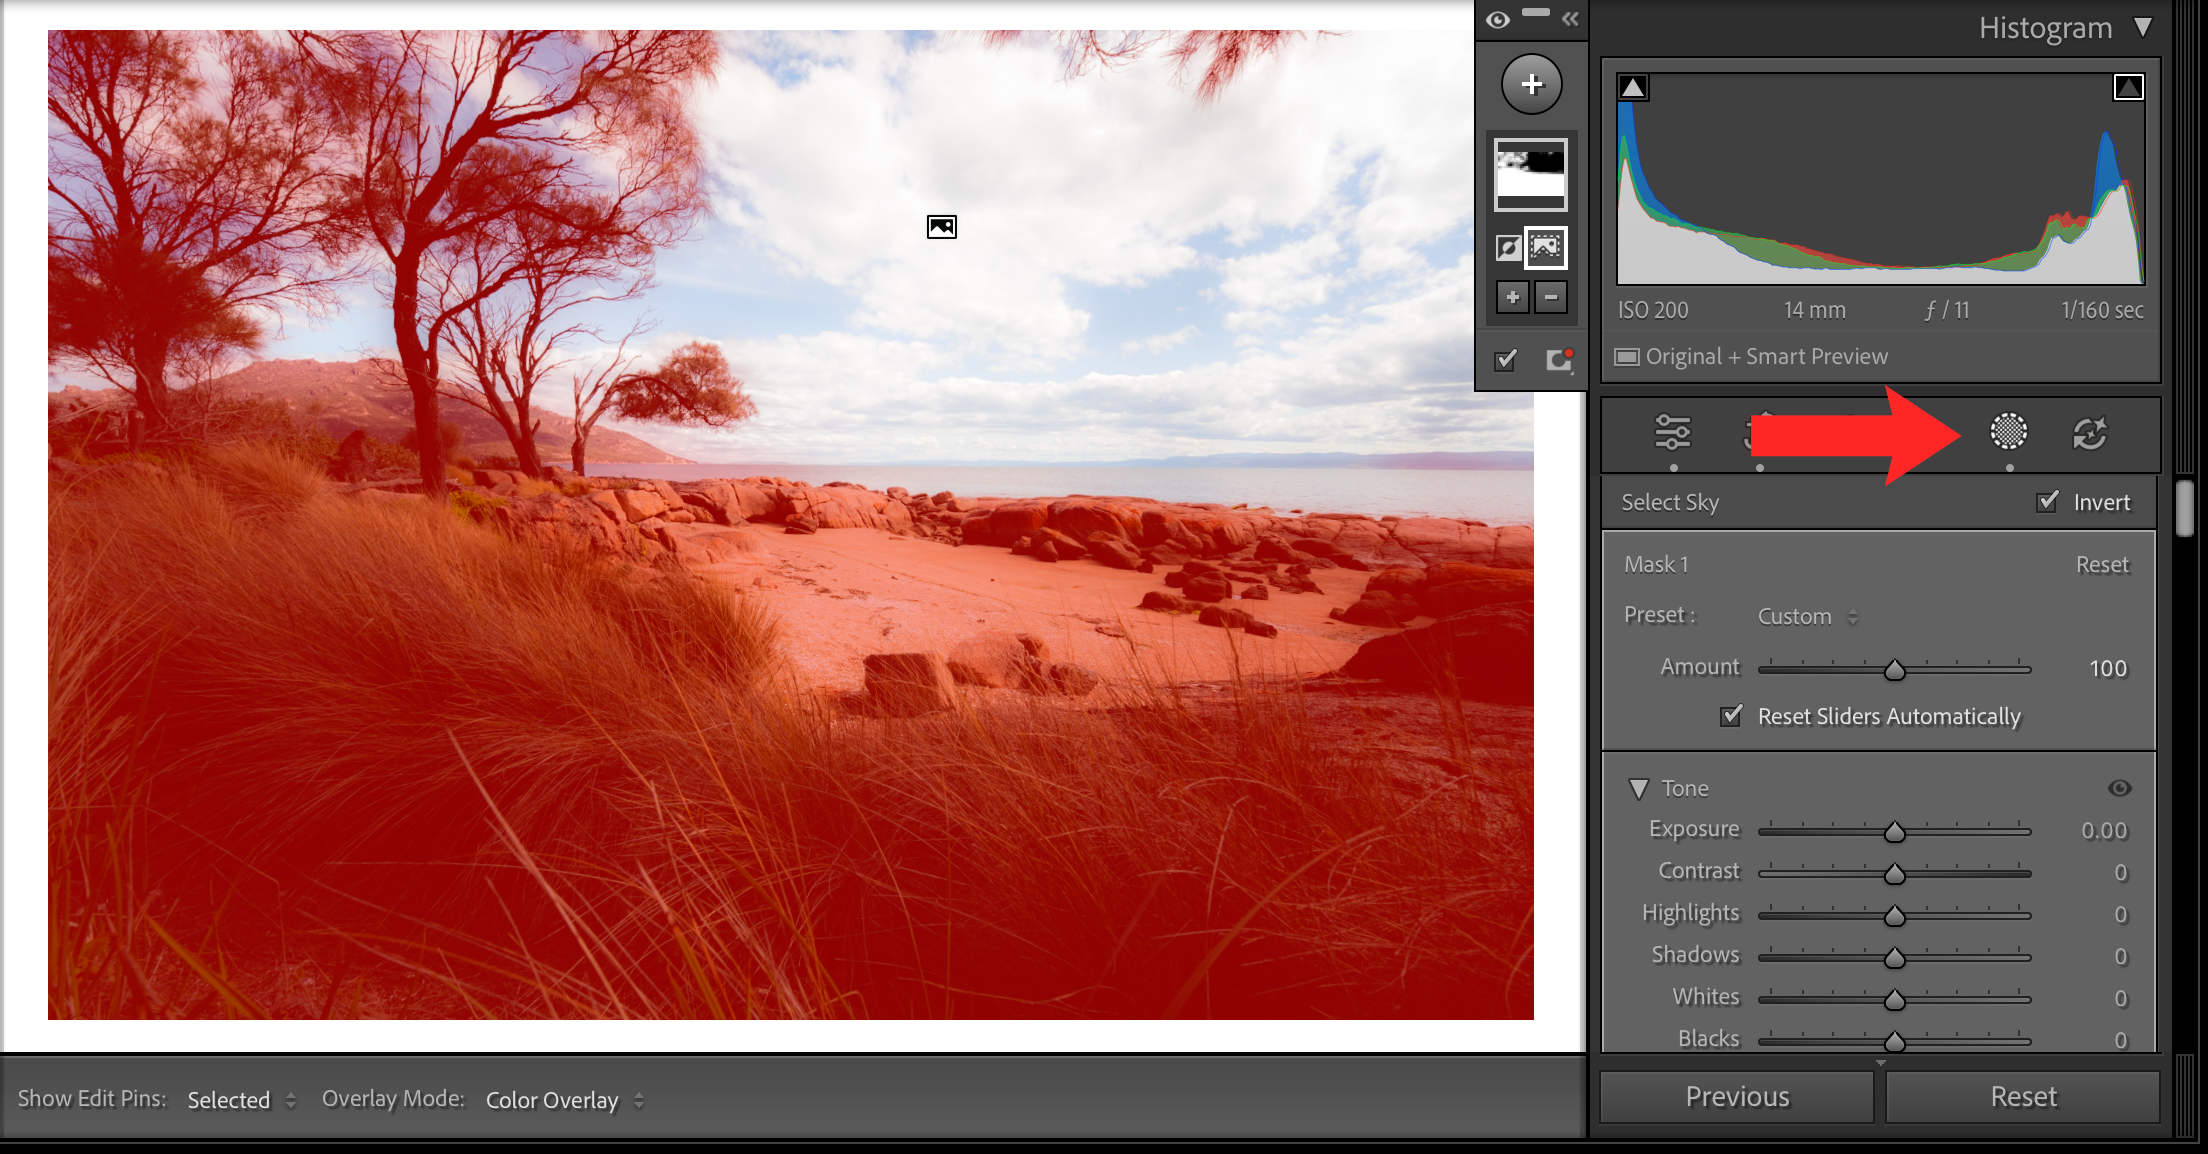
First, we’ll create a masks for the realm you wish to have an effect on. Open the Masking panel and select an acceptable device
The Linear Gradient works greatest for skies, or topics with an outlined, straight edge. The Brush and Radial Gradient work greatest for particular topics. You’ll wish to refine the masks so it cleanly covers solely the realm you wish to edit.
Adobe’s AI-powered Select Subject or Select Sky instruments additionally do a fairly good job and can assist velocity up the method.
If you’re modifying a Landscape and having hassle choosing the whole foreground, you may discover it faster to first choose the sky after which tick ‘Invert’, simply to the correct on the panel. That’s what I did right here.
Tip: You might have to ‘zoom in’ to focus on a specific space of your picture. You can do that by clicking off the masking panel and clicking on the realm you wish to goal. Lightroom will zoom in to 200% whenever you do that, permitting for extra detailed choices.
Step two
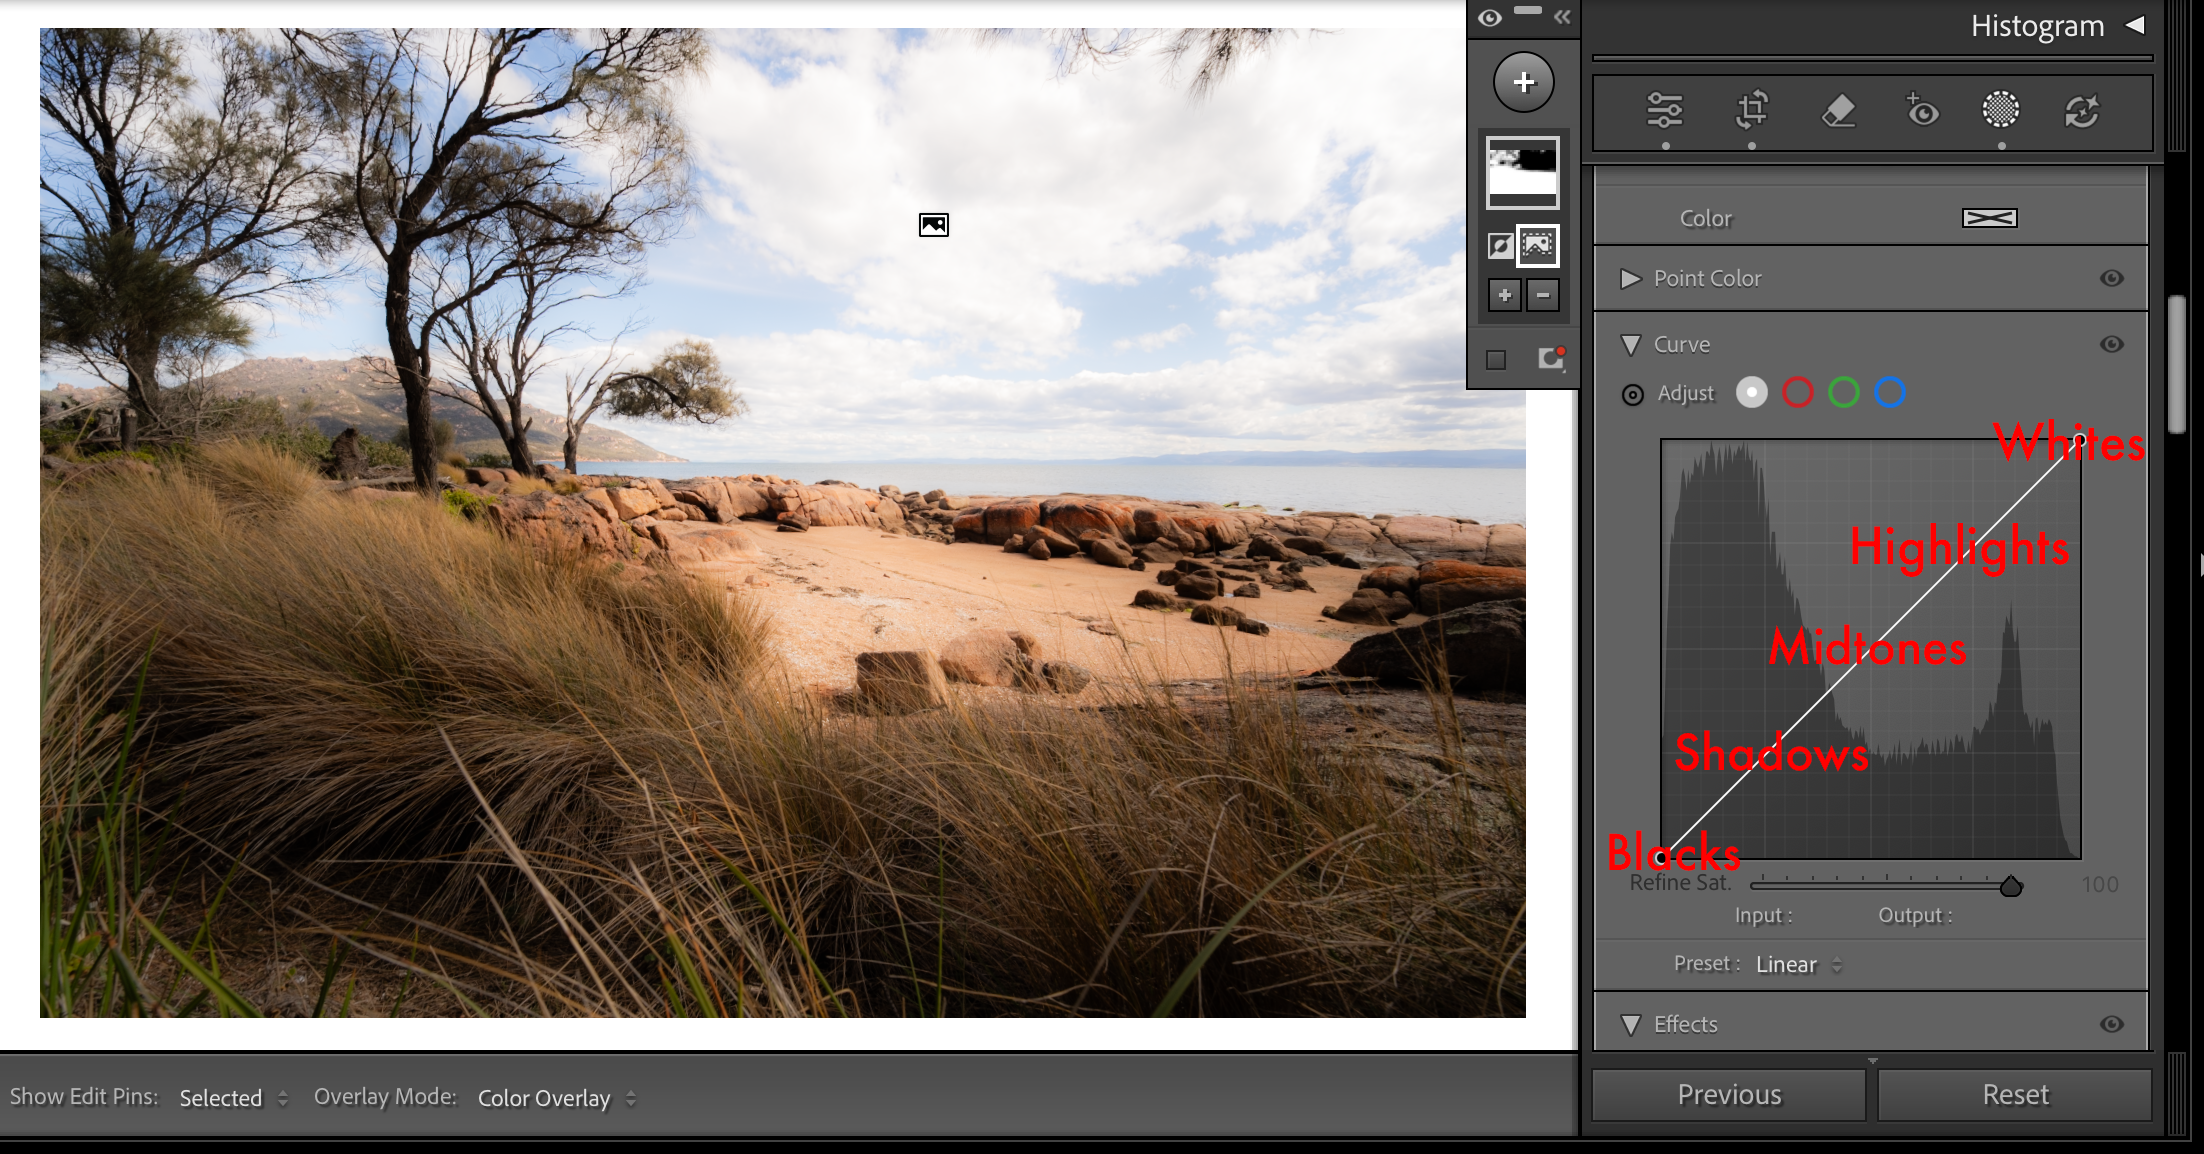
Open the Tone Curve contained in the masks
With the masks lively, scroll right down to Curve within the native adjustment controls. Because we’ve masked the realm we’re modifying, that is separate from the worldwide Tone Curve and solely impacts the masked space.
Just like fundamental international corrections in Lightroom, the Tone Curve means that you can regulate blacks, shadows, highlights, and whites, in addition to midtones, however with extra granular management.
Step three
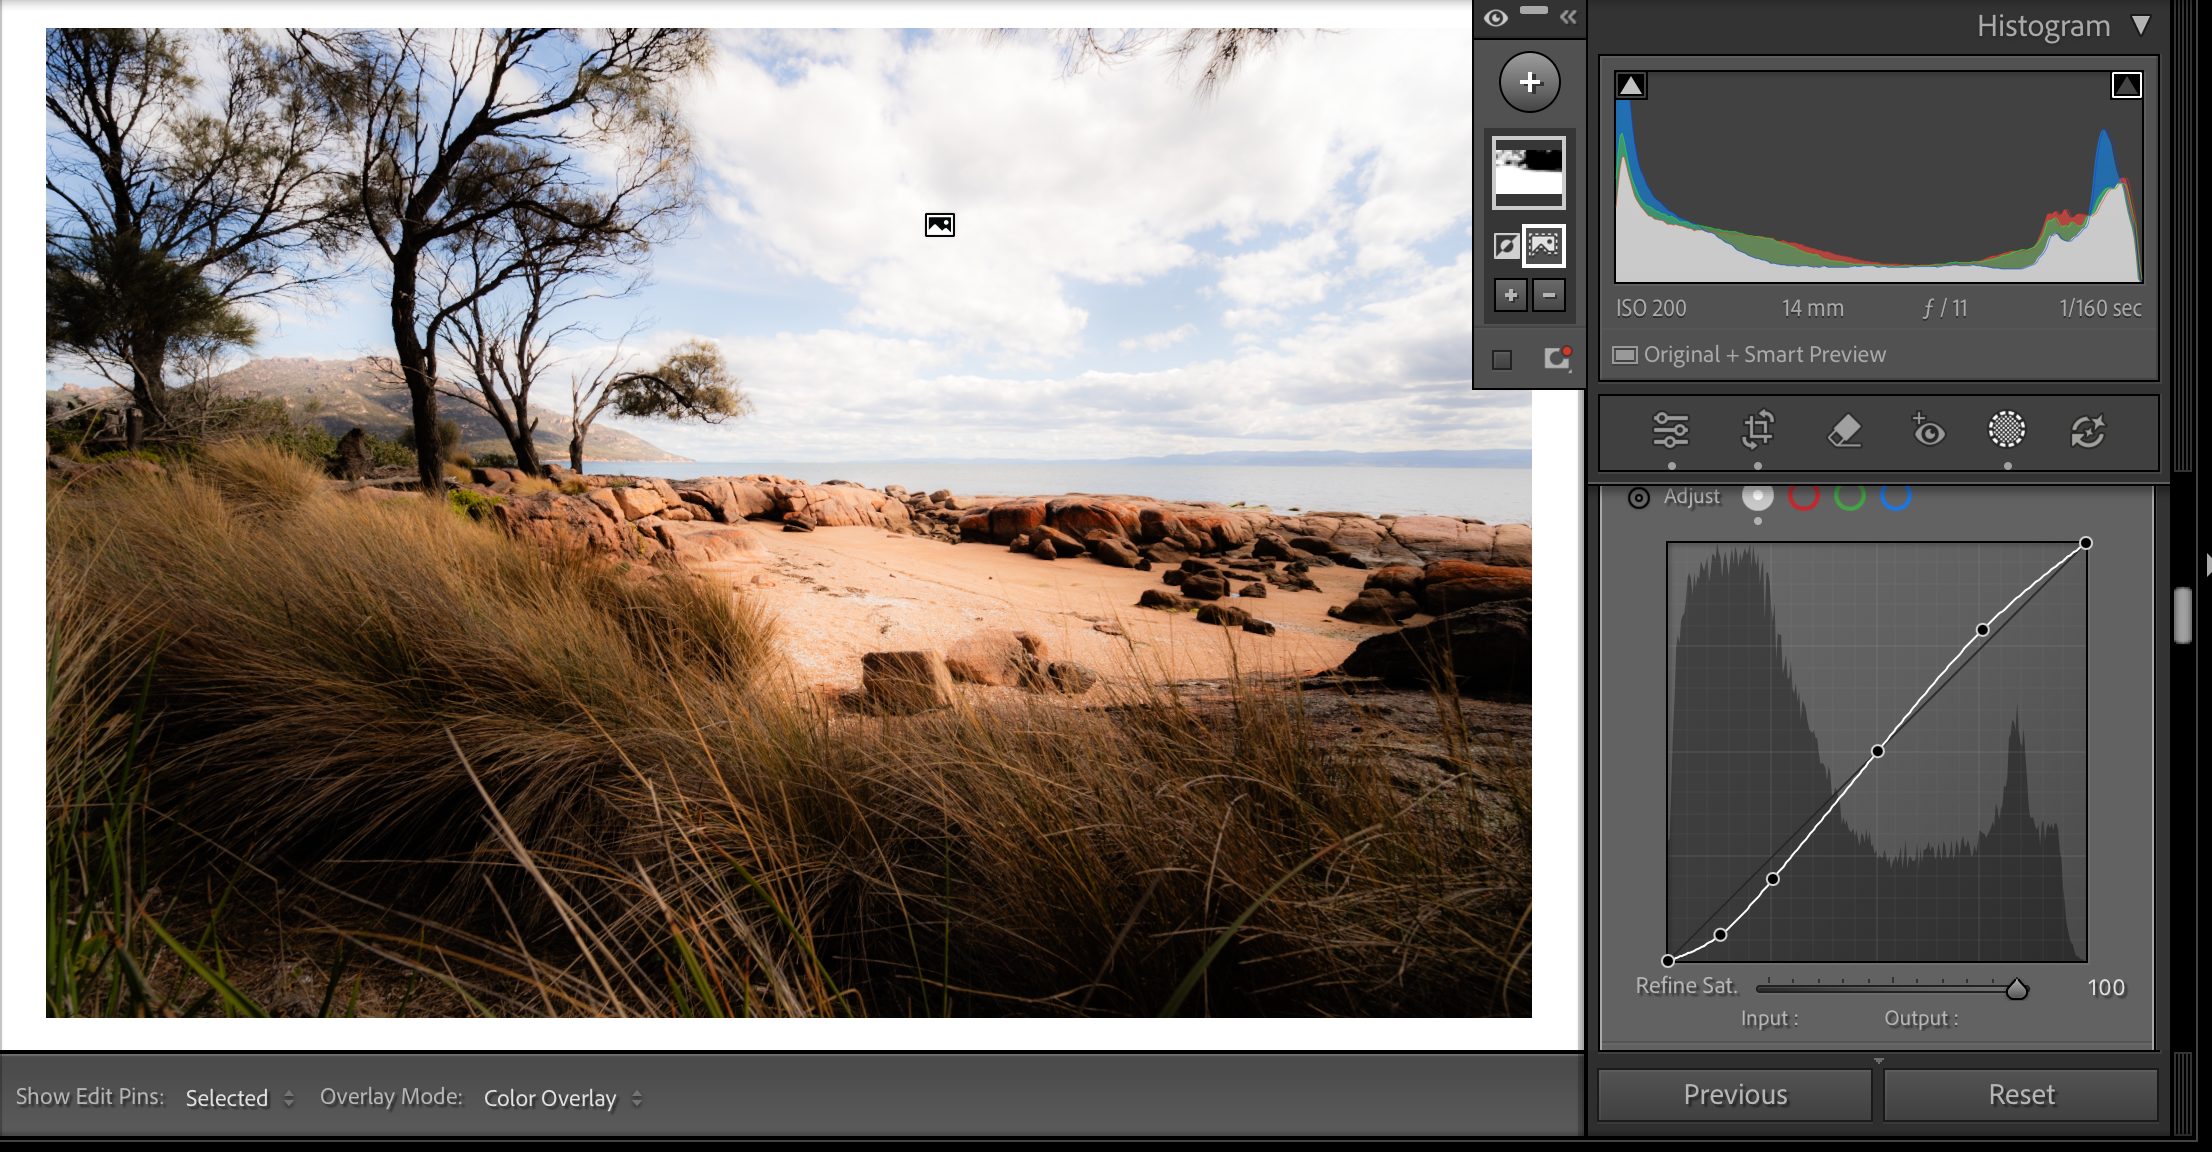
Add a curve for distinction
There’s just a few methods you should utilize the device. The hottest is to make use of a delicate S-curve. This lifts highlights barely whereas concurrently pulling shadows down barely.
You can add factors just by clicking anyplace within the grid and you may take away factors by double clicking them.
With this picture, I’ve elevated the distinction within the shadows right here barely. Notice how I take advantage of a really refined change to the curve to do that. This is sufficient to elevate shadows but in addition improve distinction regionally with out making the entire picture harsher. Small actions go a good distance.
Tip: You can reset the Curve by selecting Linear from the Preset menu. There are additionally presets for medium and excessive distinction right here that may be an excellent place to begin.
Step 4

Lift the black level for a softer, cinematic look (non-compulsory)
Another trick is to lift the left-most level of the curve barely to elevate the black level. This offers the chosen areas a considerably pale/flat movie look which may be a whole type of its personal, and is fairly standard on social media.
Certain photographs profit from lifting the black level higher than others, nevertheless it works notably properly on textured topics, skies or misty landscapes, and creates separation with out apparent darkish edges.
Step 5
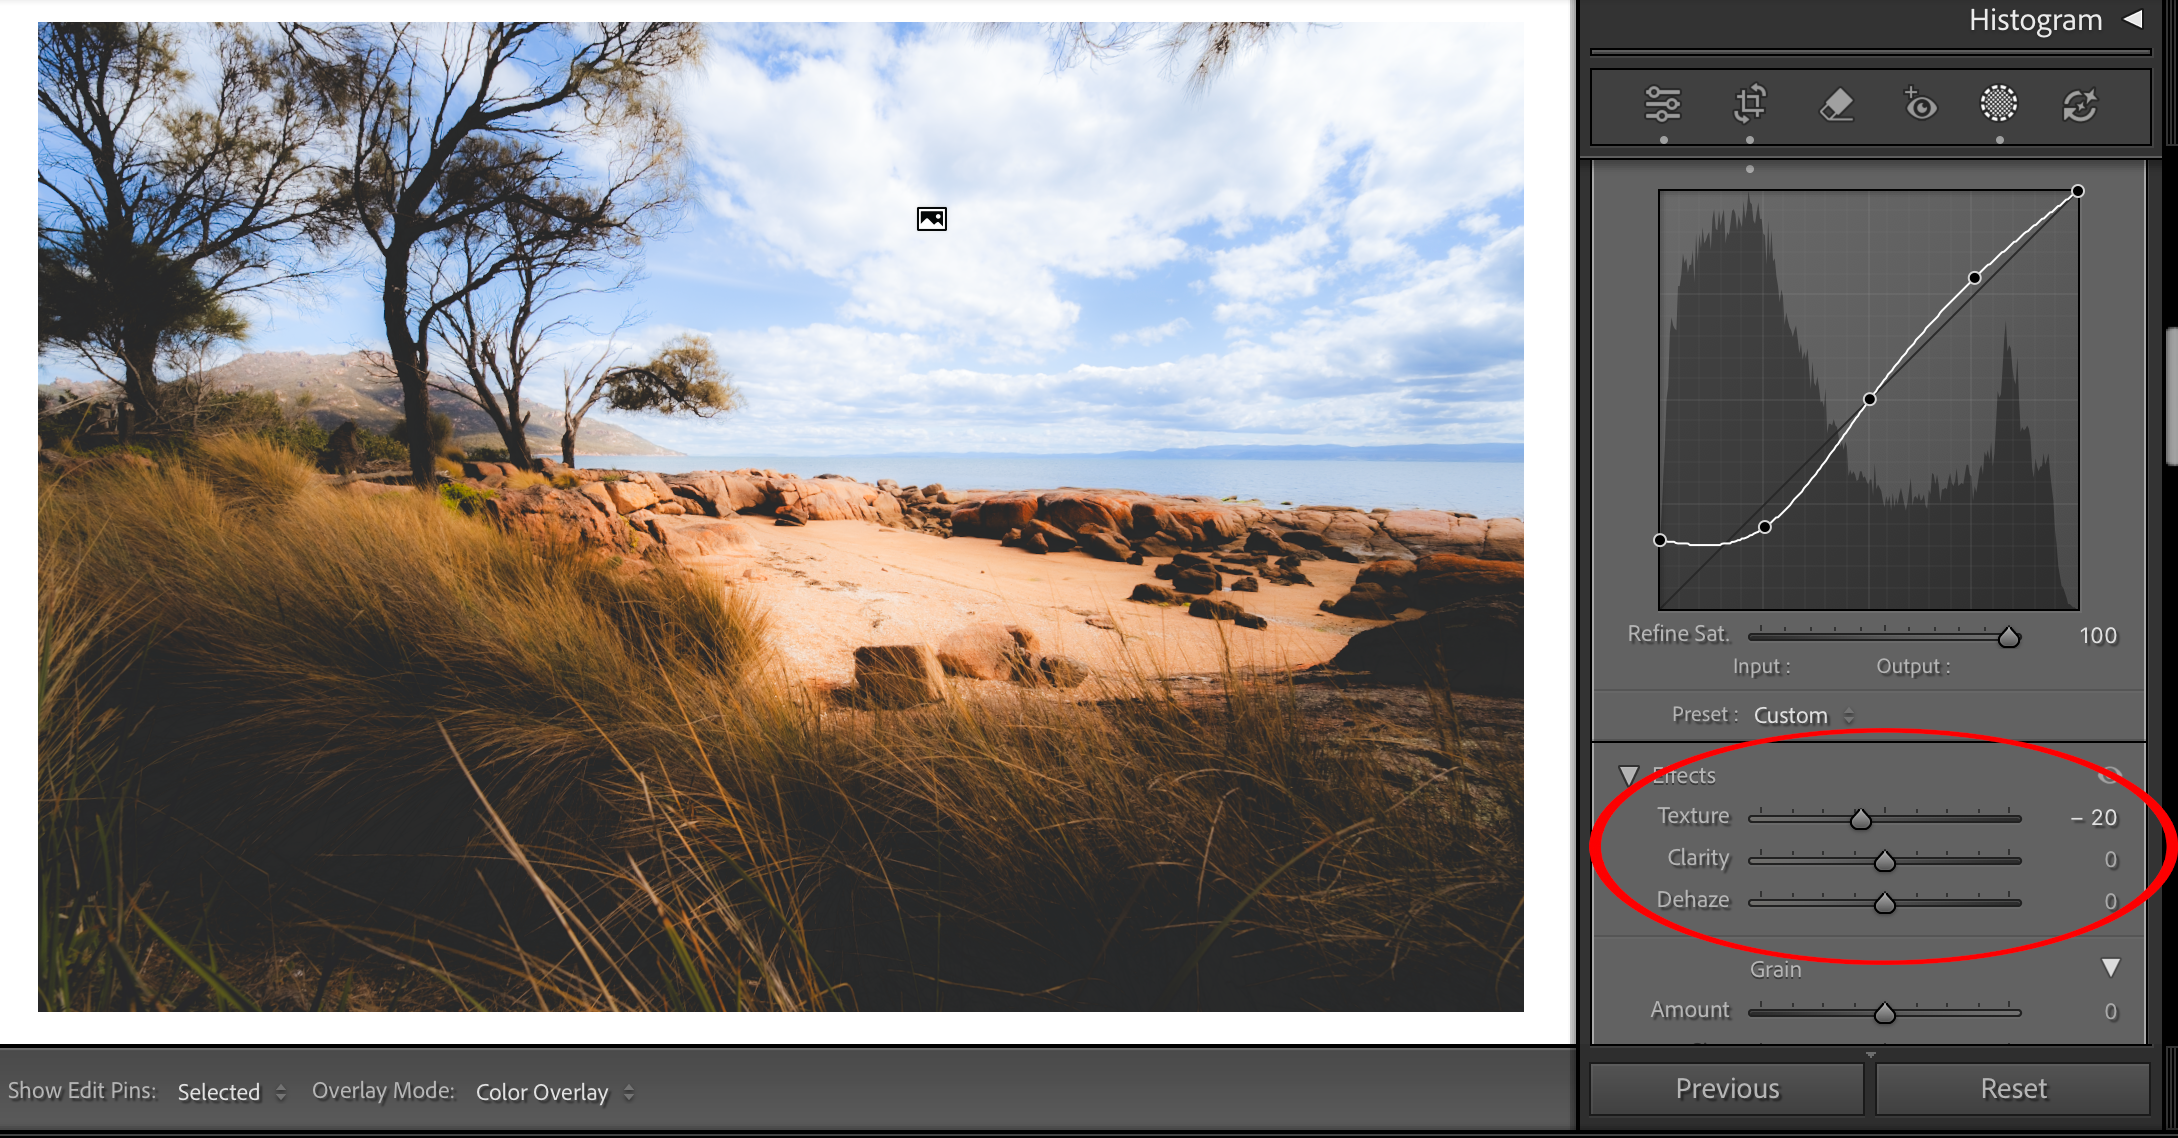
Fine-tune your native changes
After shaping distinction with the curve, your picture may profit from a few different native changes.
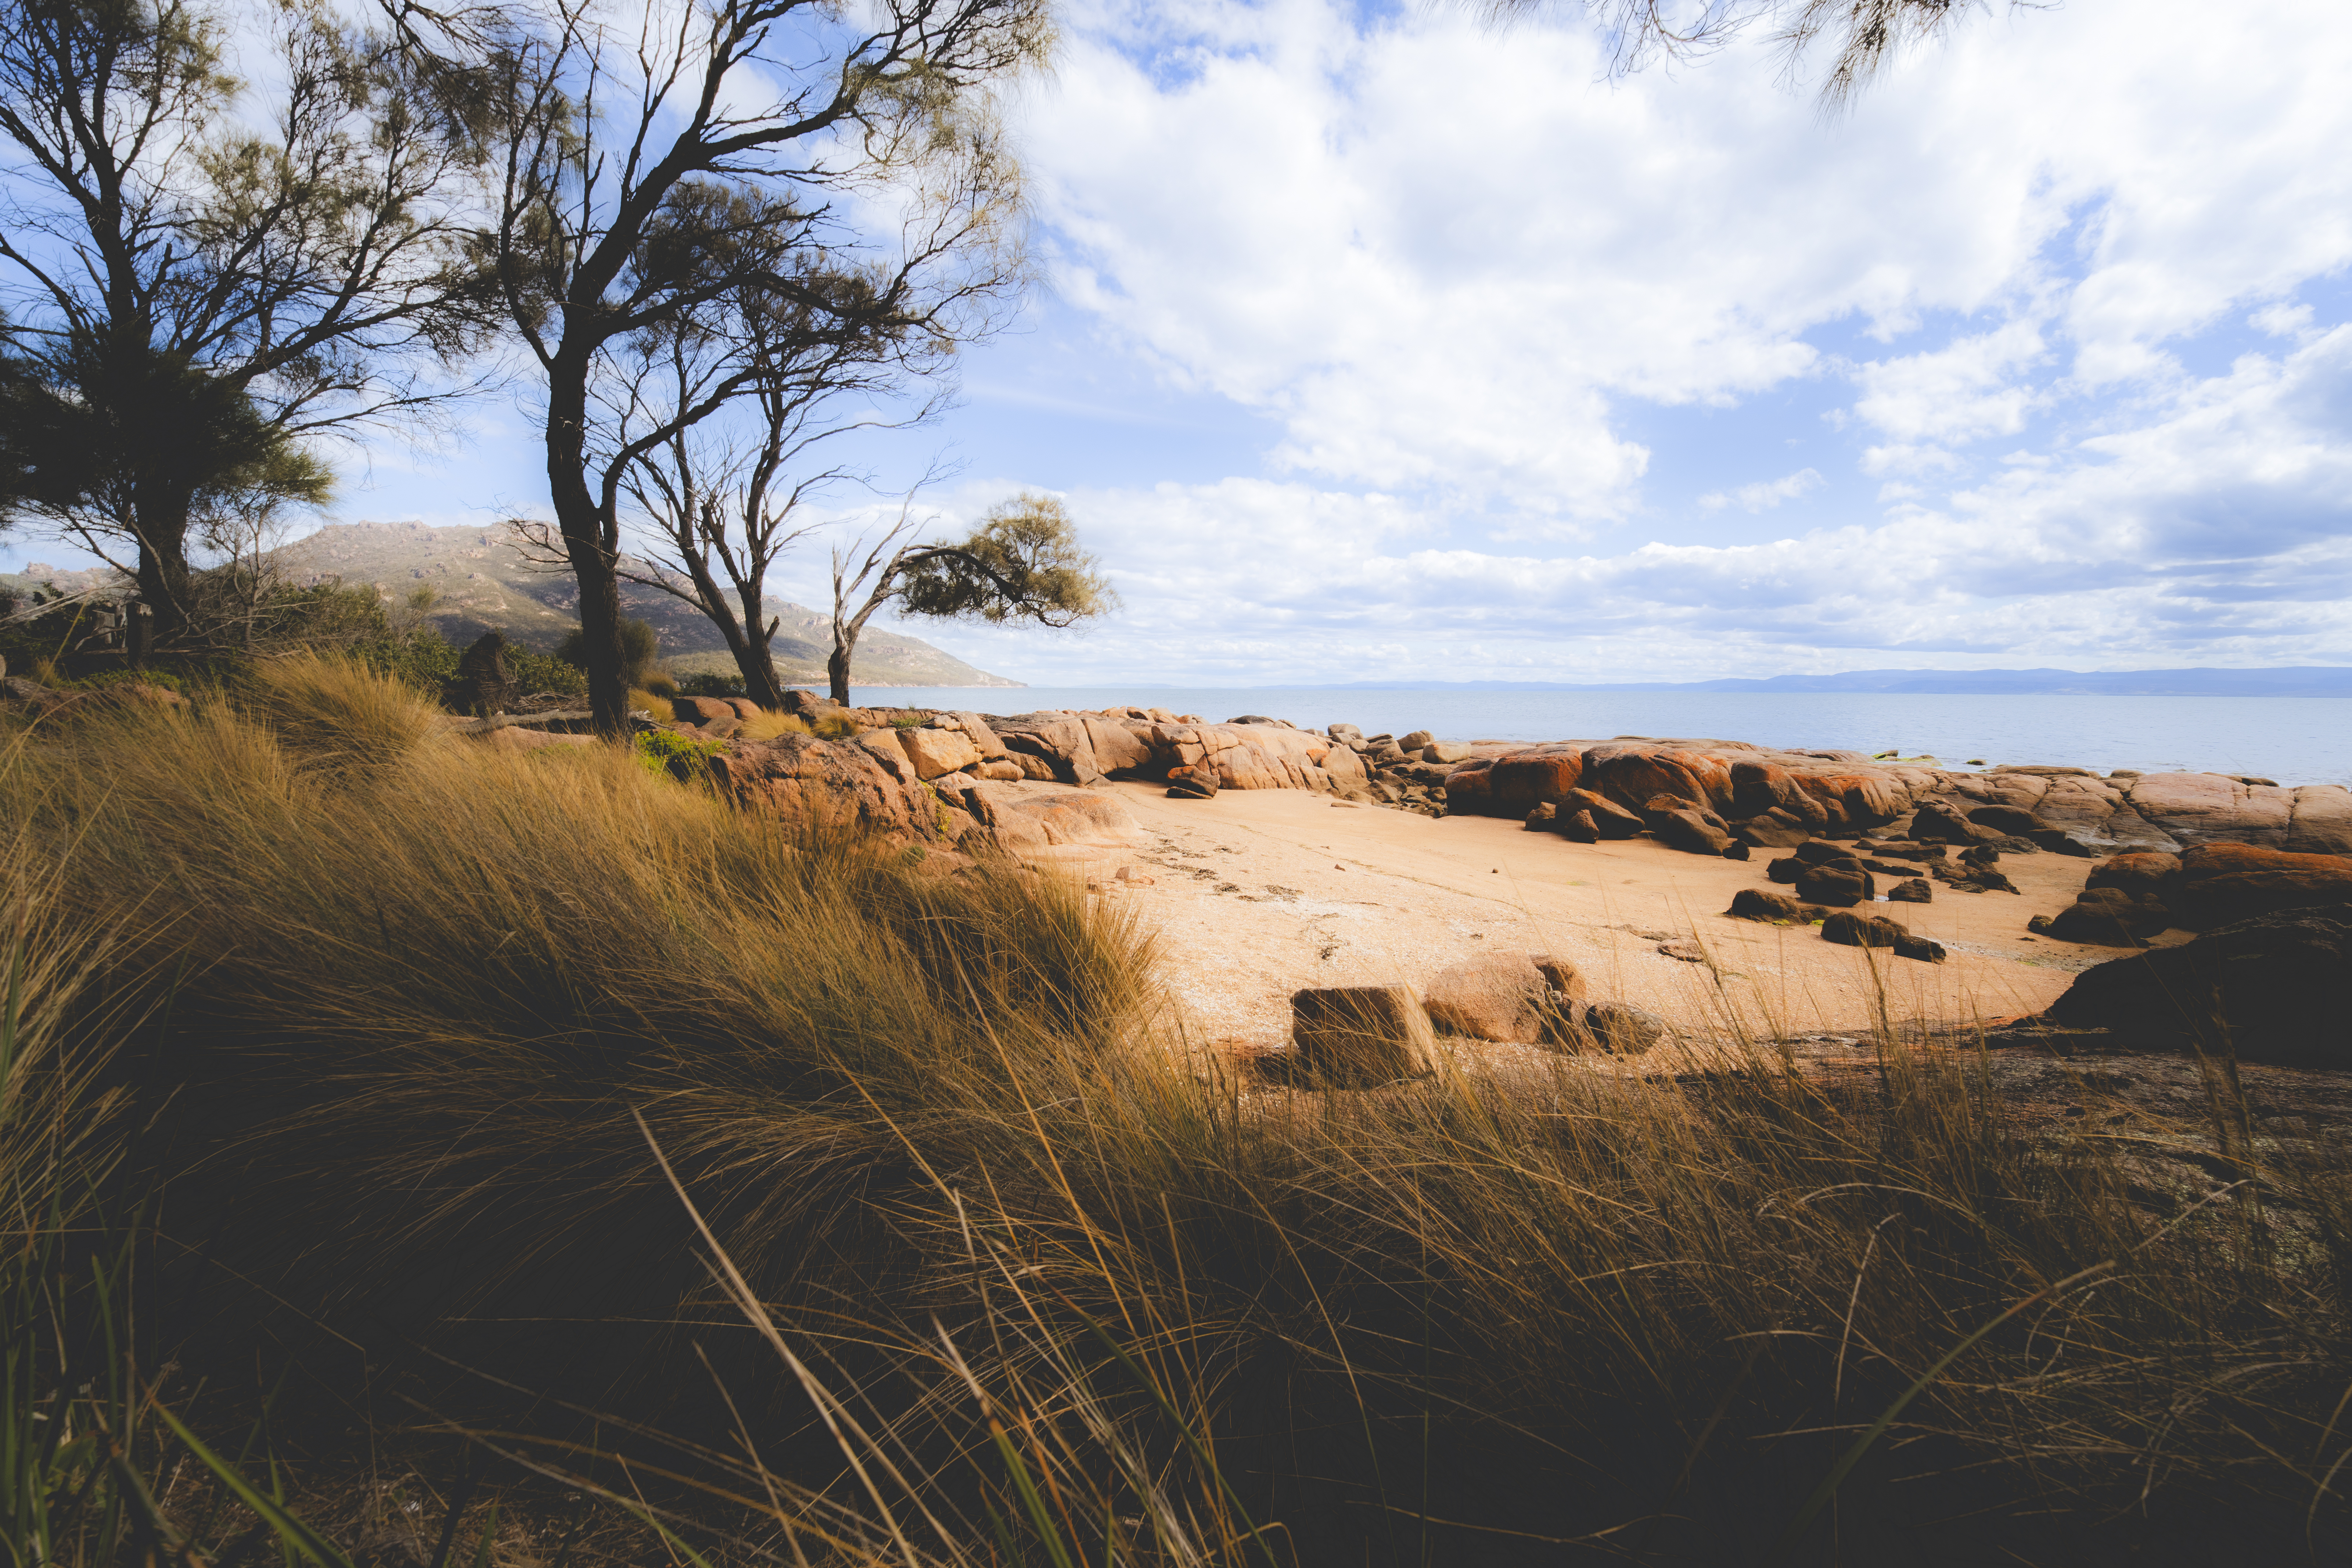
Here for instance, I adjusted Exposure within the Tone panel a bit of to stability brightness, and lowered Texture to manage the perceived sharpness and play up the softer filmic look, whereas avoiding crunchy element.
I additionally pumped up the blues within the sky a bit of with a sky particular masks.
Step six
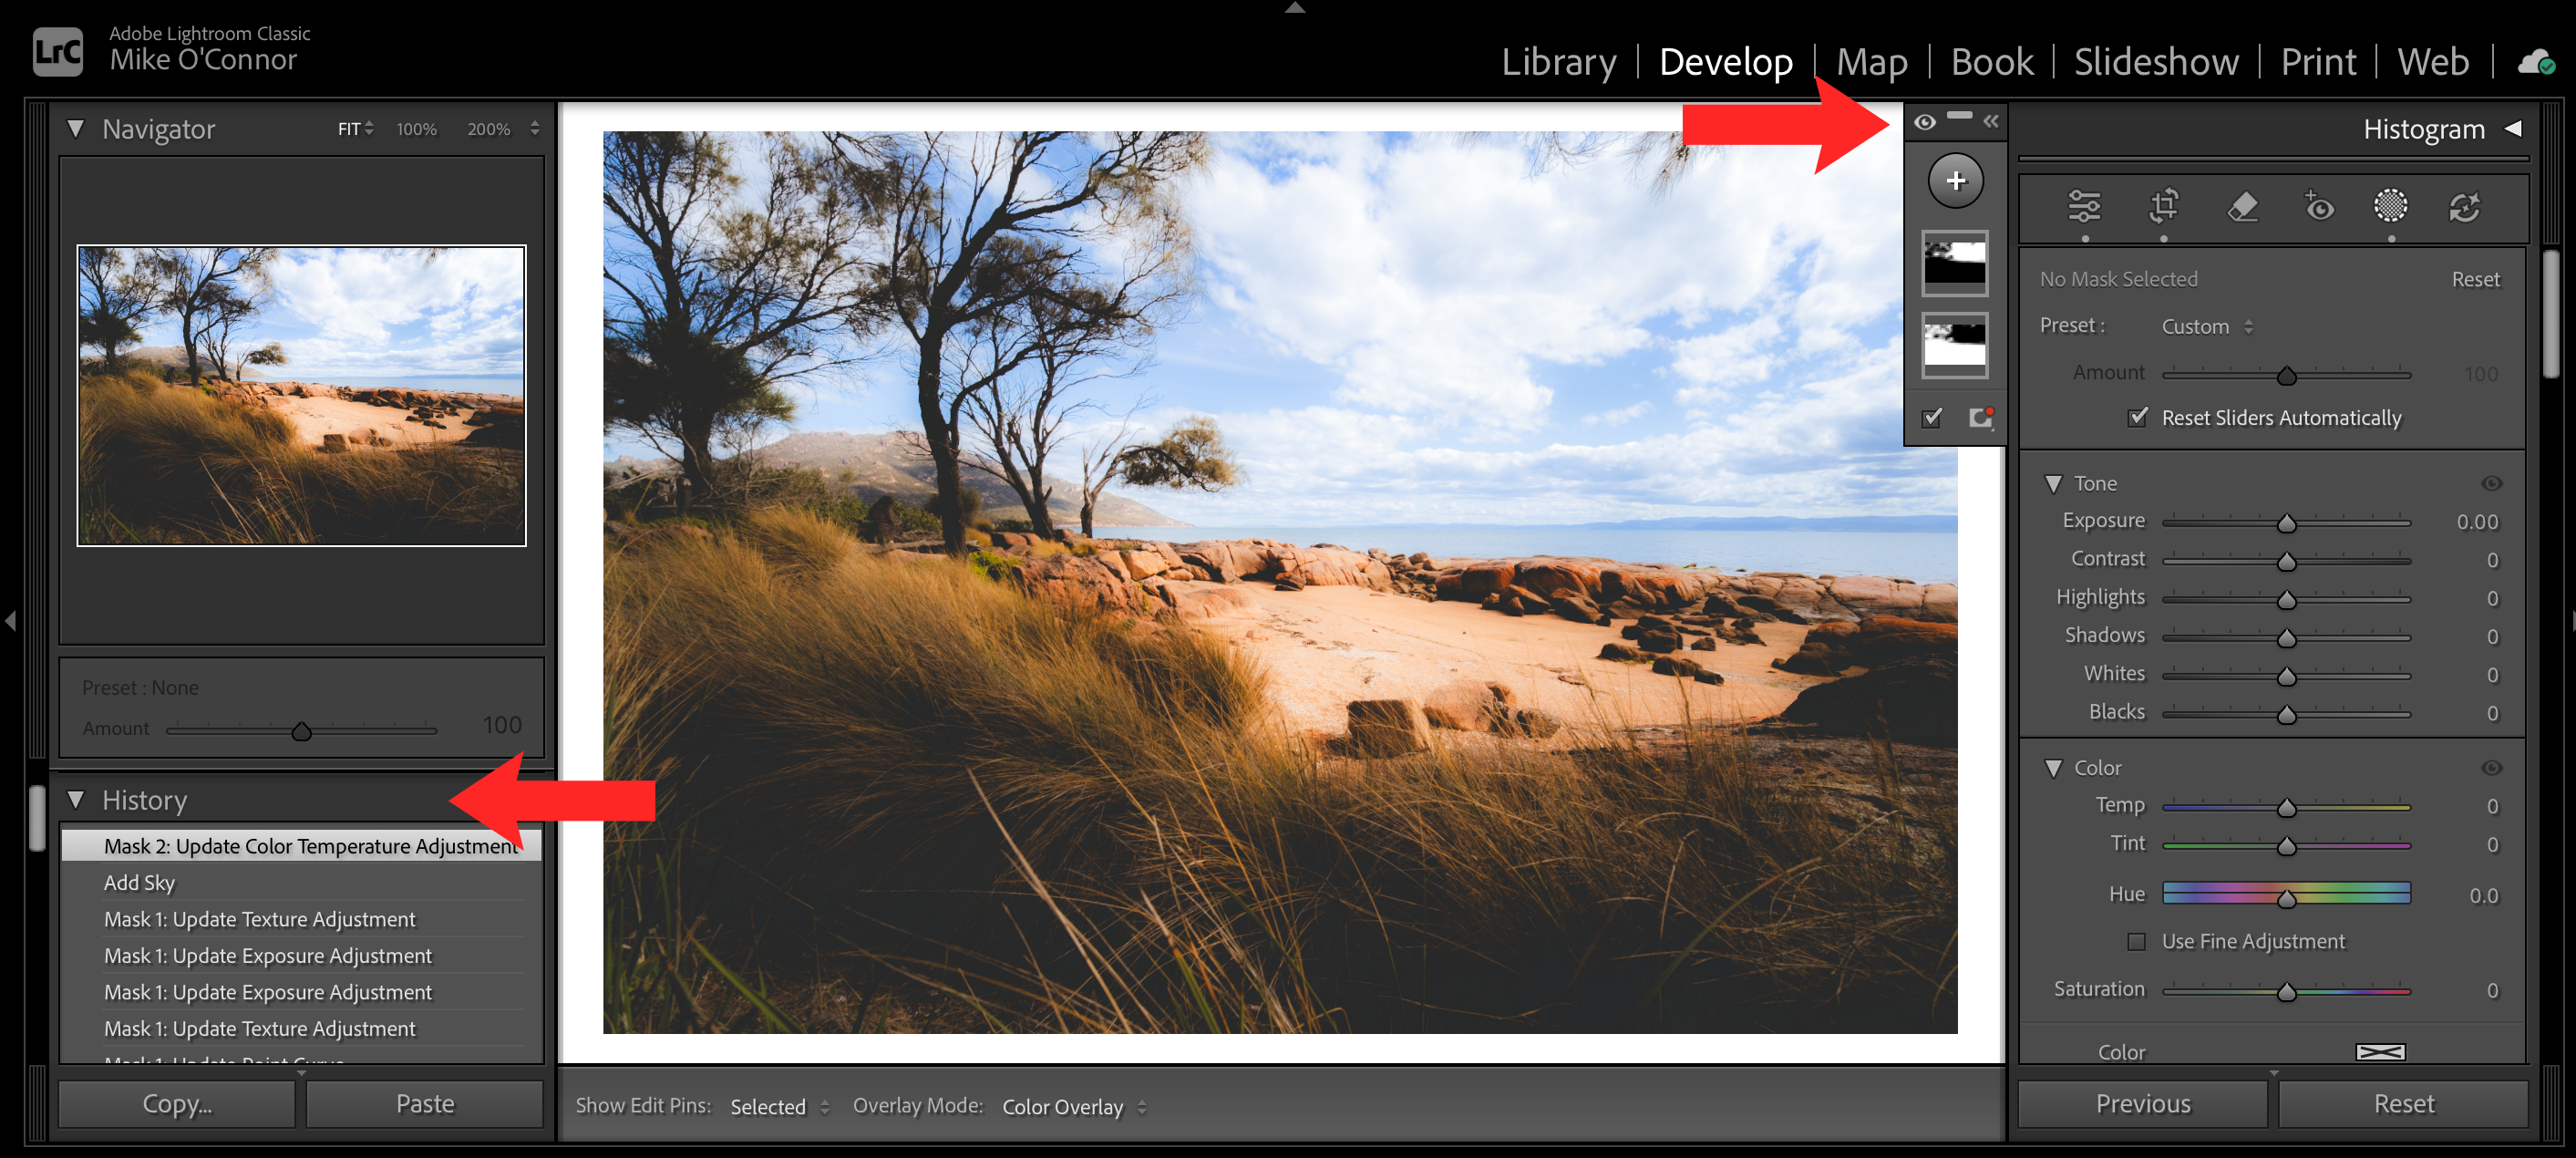
Toggle the masks on and off to test realism
Finally, you should utilize the masks visibility toggle (the eyeball) to match your earlier than and after.
If the impact attracts consideration to itself, again off the curve barely, and do not forget that all adjustments aren’t everlasting, simply undergo the History tab on the left to stroll again any adjustments.
This web page was created programmatically, to learn the article in its authentic location you possibly can go to the hyperlink bellow:
https://www.australianphotography.com/photo-tips/lightroom-how-to-apply-a-localised-tone-curve
and if you wish to take away this text from our web site please contact us